
Irrigation Installation Timeline: From Design to First Watering in Thompson's Station, TN

Irrigation installation in Thompson's Station, TN, follows a sequence of distinct phases, each building on the one before it. Understanding what happens at each stage helps homeowners know what to expect, from the first site visit through the moment the system runs its first full watering cycle.
A well-executed installation depends on getting each phase right, since a shortcut early in the process tends to surface as a problem months or years later, long after the crew has finished the visible work and moved on to the next property.
Second Nature approaches every irrigation installation in Thompson's Station, TN with the same structured timeline, adjusted for the specific size, layout, and planting needs of each property. This guide walks through that timeline from start to finish, explaining what happens during each phase and why the sequence matters.
Whether a property spans a small front yard or several acres of mixed turf and planting beds, the underlying process stays consistent even as the scale and complexity of the work changes.
Related: Why Irrigation Companies in Thompson Station Are Essential for Luxury Outdoor Living
How Does the Design Phase Work for Irrigation Installation?
Every irrigation installation begins with a design phase that maps out how water will reach every section of the property.
Measuring the Property
A site visit starts with detailed measurements of the lawn, planting beds, and any hardscape features that affect where pipes and sprinkler heads can be placed. Square footage alone does not determine system design. The shape of the lawn, the location of trees and shrubs, and the placement of walkways and patios all influence where zones need to start and end.
Assessing Water Pressure and Source
Water pressure and the available water source get evaluated early in the design process, since these factors determine how many zones a system can support and what type of sprinkler heads will perform best.
A property with lower water pressure may need a different zone configuration than one with strong, consistent pressure, and this assessment prevents a design that looks good on paper but underperforms once installed.
Testing pressure at multiple points across a larger property also reveals whether pressure drops significantly farther from the water source, information that shapes how zones get grouped and sized.
Mapping Zones Based on Plant Needs
Zone mapping follows, grouping areas with similar watering needs into the same zone. Turf areas, planting beds, and any specialty plantings typically require different watering schedules, so separating them into distinct zones allows each area to receive the right amount of water without over or under watering neighboring sections.
This zone-based approach forms the foundation of an efficient system rather than treating the entire property as a single watering unit.
Finalizing the System Plan
Once measurements, pressure readings, and zone groupings are complete, the design comes together into a full system plan showing pipe routing, head placement, and controller location.
This plan gets reviewed with the homeowner before installation begins, giving them a clear picture of what the finished system will look like and how it will operate across the property.
What Happens During Site Preparation and Utility Marking?
Before any digging begins, site preparation protects both the property and the underground utilities that already run through it.
Marking Underground Utility Lines
Underground utility lines, including gas, electrical, water, and communication lines, get marked before any trenching starts. This step protects the property from accidental damage and protects the installation crew from safety hazards that come with digging into an unmarked utility line.
Utility marking typically involves contacting local utility companies to have lines flagged directly on the property, a process that takes a few business days to complete before installation can proceed.
Identifying Existing Landscape Features
Existing landscape features also factor into site preparation. Established plantings, irrigation lines from a previous system, or drainage structures already in place need to be identified and worked around during the trenching and installation process.
A thorough walkthrough of the property before digging begins reduces the risk of damaging something already established while making room for the new system.
Staking Out Trench Lines and Zones
Staking out the planned trench lines and zone boundaries gives the installation crew a clear reference as work begins, translating the design plan into physical markers across the actual property.
This staking step also gives homeowners one more opportunity to review the planned layout and raise questions before any ground gets disturbed.
Accounting for Weather and Soil Conditions
Weather and soil conditions factor into the timing of site preparation as well.
Overly saturated soil after heavy rain makes trenching messier and increases the risk of damaging turf areas outside the planned work zones, so installation crews often watch the forecast and adjust scheduling to avoid the wettest stretches common during a Middle Tennessee spring.
How Are Zones and Pipes Installed During Irrigation Installation?
Once the site is prepared and utilities are marked, the physical installation of pipes, valves, and sprinkler heads begins.
Trenching and Pipe Placement
Trenching follows the staked lines from the design phase, creating the channels where main lines and lateral pipes will run beneath the surface. Trench depth matters for protecting pipes from surface disturbance and, in regions with occasional hard freezes, from potential freeze damage during the coldest stretches of winter.
Pipes get laid along these trenches according to the zone map established during design, connecting each sprinkler head back to its assigned zone valve.
Installing Valves and Sprinkler Heads
Valve installation happens at key points in the system, with each valve controlling water flow to a specific zone. Properly grouped valves, typically housed together in a valve box for easy access during future maintenance, make the system easier to service down the road.
Sprinkler heads get installed at the locations mapped during design, with head type varying based on the area being covered. Turf areas typically use rotor or spray heads depending on the size of the zone, while planting beds often use drip irrigation or micro-spray heads that deliver water more precisely to root zones without oversaturating surrounding turf.
Backfilling and Restoring the Site
Backfilling follows once pipes, valves, and heads are in place, restoring the trenched areas and compacting soil to prevent future settling.
A quality installation restores the site so trenching lines are barely visible once the disturbed soil settles and grass fills back in, leaving the property looking much as it did before installation began, minus the visible sprinkler heads now placed strategically across the lawn and beds.
Any turf disturbed during trenching typically gets reseeded or patched as part of this final restoration step, so the lawn recovers fully rather than showing bare lines where trenches once ran.
How Is the Irrigation Controller Set Up and Tested?
The controller serves as the command center for the entire system, and its setup determines how effectively the system performs going forward.
Controller Placement and Wiring
Controller placement typically happens in a garage, basement, or other protected location, with wiring run from the controller to each zone valve installed earlier in the process.
This wiring allows the controller to open and close valves according to the programmed schedule, automating the watering process across every zone on the property.
Initial Programming
Initial programming sets watering schedules based on the specific needs identified during the zone mapping phase. Turf zones, planting bed zones, and any specialty zones each receive their own schedule, accounting for factors like sun exposure, soil type, and plant water requirements.
This initial program gives the system a starting point, though schedules often get refined once the system has run for a few cycles and the results become visible.
System Testing
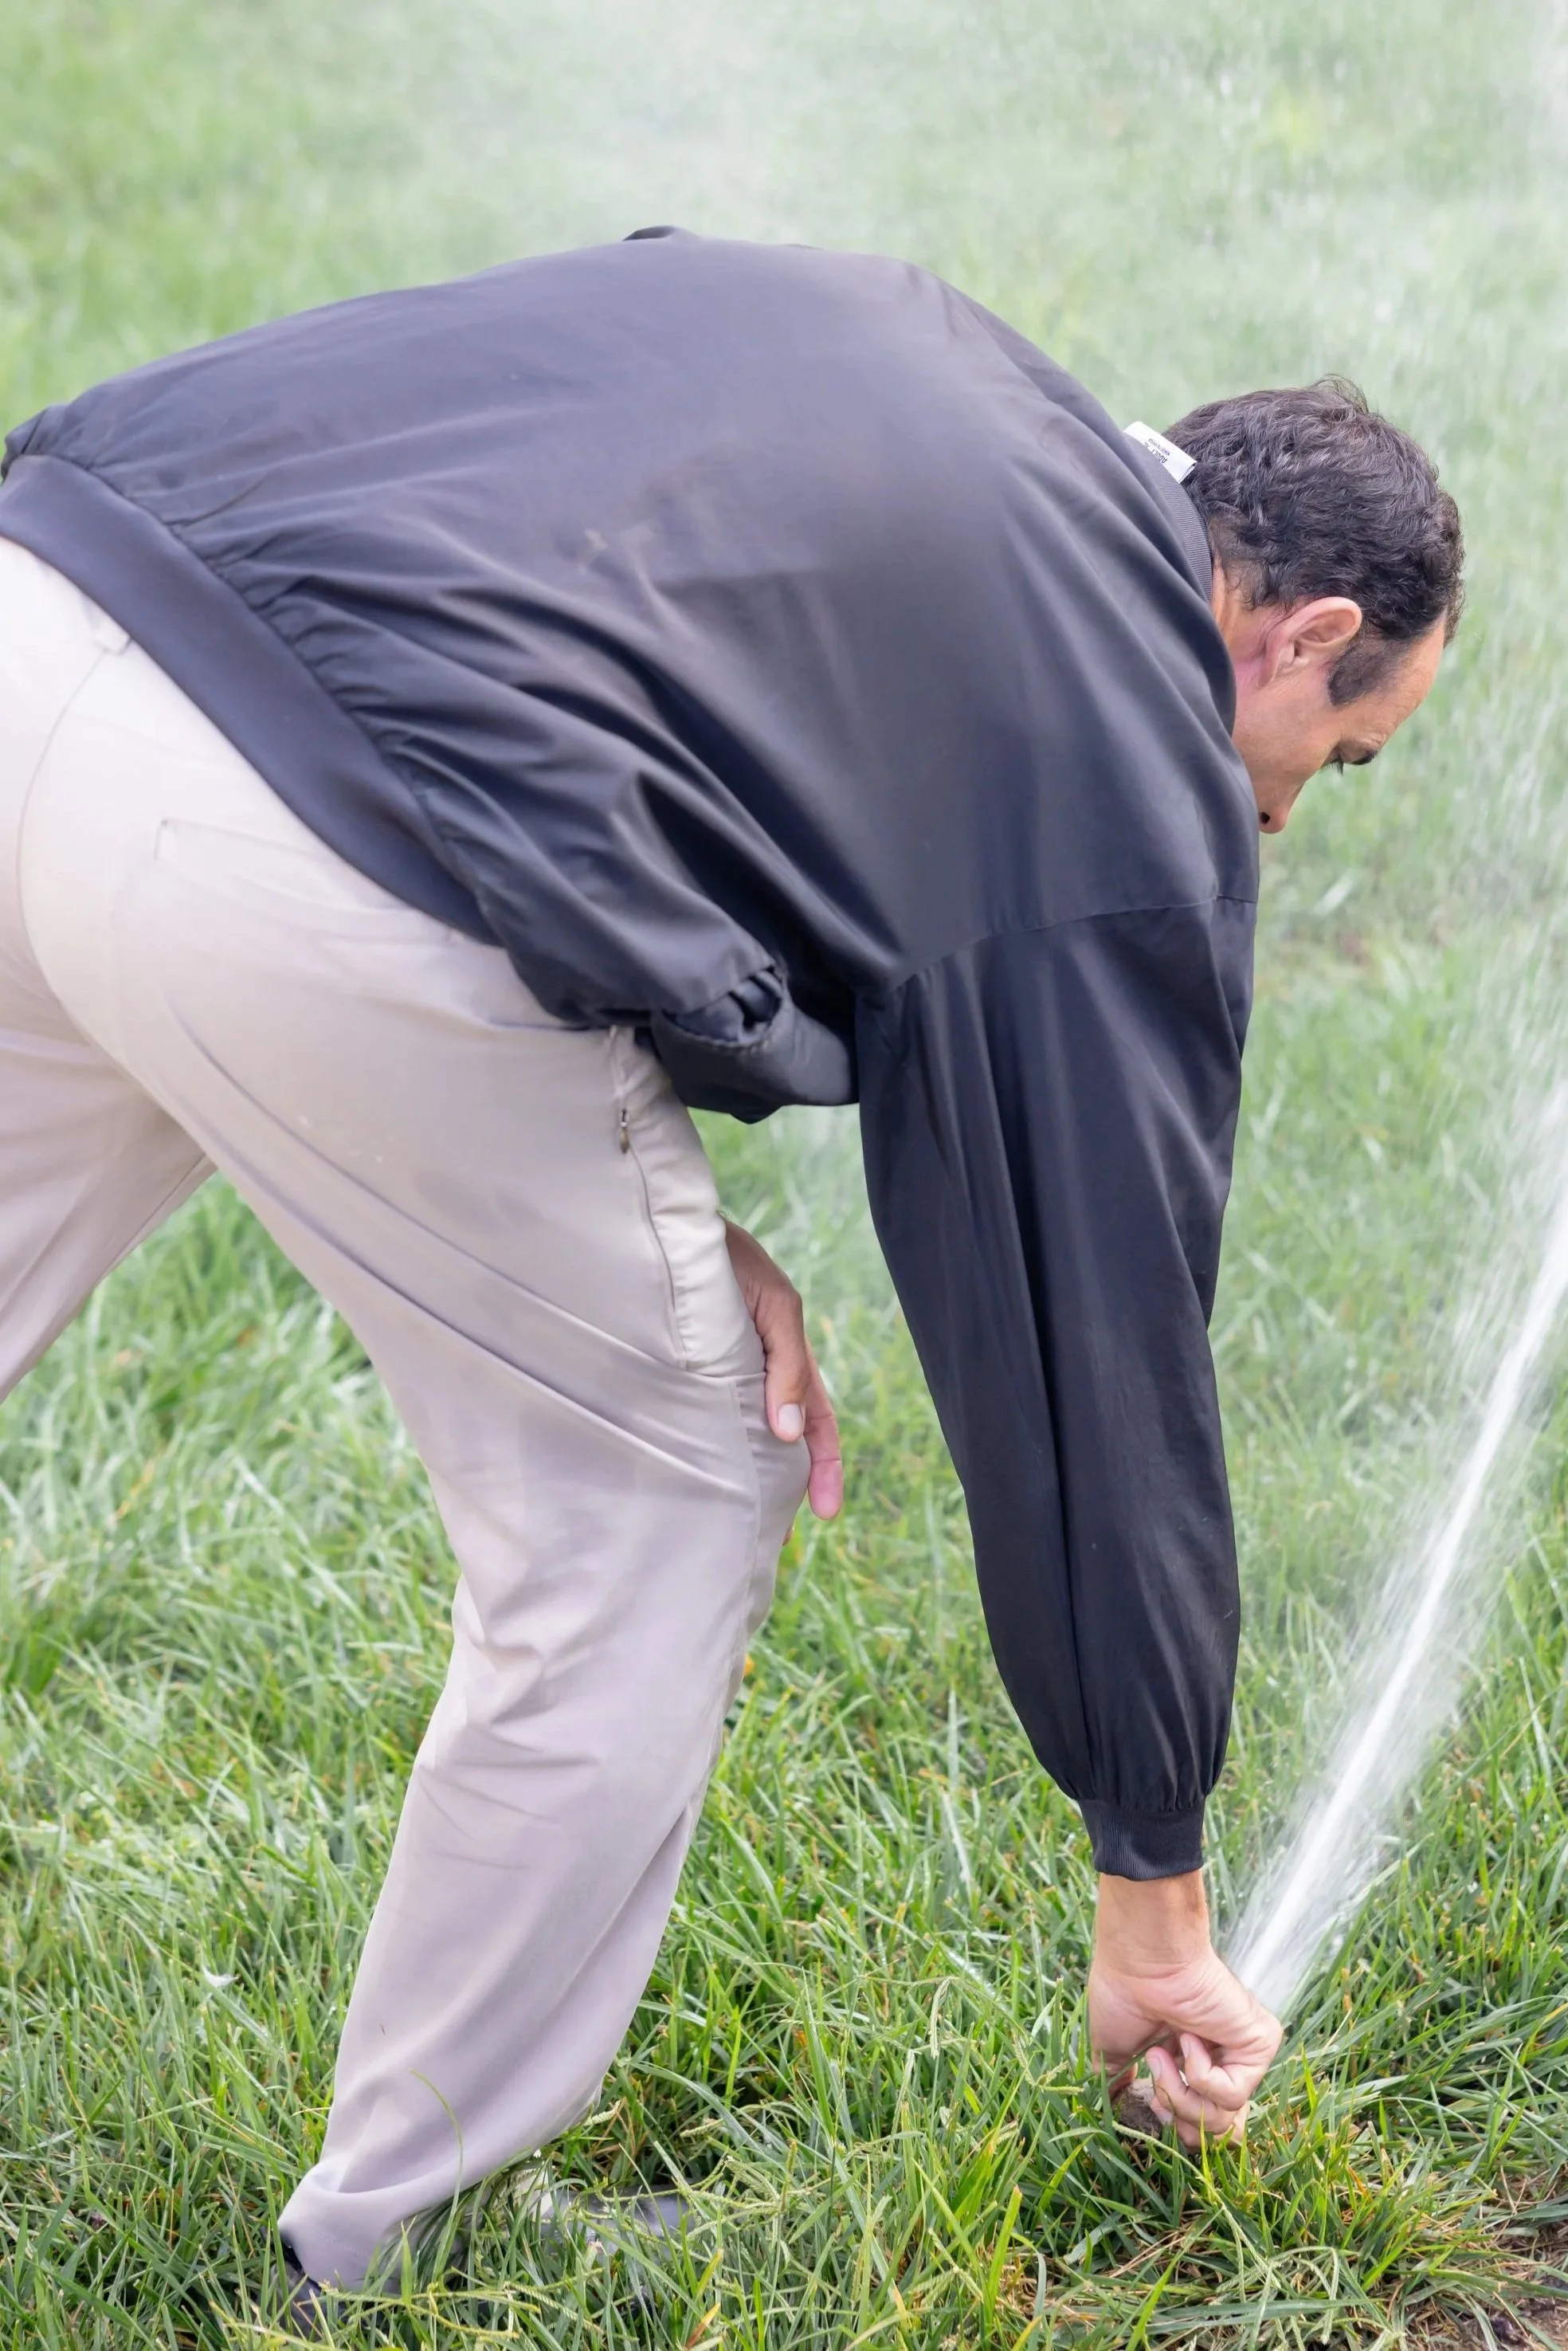
Testing every zone individually confirms that each valve opens correctly, each sprinkler head pops up and rotates or sprays as designed, and coverage reaches the intended area without significant overlap or gaps.
This zone-by-zone testing catches any installation issues, such as a head installed at the wrong angle or a valve that fails to open fully, before the system runs unsupervised on its regular schedule.
Adjusting Head Direction and Coverage
Fine-tuning head direction and spray pattern often follows initial testing, since even a well-planned design sometimes needs small adjustments once water is actually flowing through the system.
A head angled slightly wrong might spray onto a walkway instead of the intended turf area, and catching this during testing prevents wasted water and uneven coverage once the system runs on its own.
This attention to detail during testing is what separates a system that performs consistently from one that requires repeated service calls in its first season.
What Happens During the Final Walkthrough After Irrigation Installation?
The final walkthrough covers several key areas to confirm the system performs as designed and give homeowners the information they need to operate it going forward.
Reviewing Zone Coverage and Controller Operation
A complete walkthrough covers every zone, showing the homeowner where each zone's coverage area begins and ends and confirming that watering patterns match what was outlined during the design phase.
A walkthrough also covers controller operation, including how to adjust schedules, run manual cycles, and respond to seasonal changes that affect watering needs throughout the year in Middle Tennessee.
Calibrating the Rain Sensor
Rain sensor calibration, when included as part of the system, gets confirmed during this final stage as well. A properly calibrated rain sensor prevents the system from running unnecessarily during or immediately after rainfall, which conserves water and protects turf from overwatering during Tennessee's wetter stretches of spring and early summer.
Providing System Documentation
Documentation of the system, including a zone map showing valve locations and controller programming, gets provided to the homeowner for future reference.
This documentation proves valuable for any future maintenance, seasonal adjustments, or troubleshooting, giving homeowners a clear record of exactly what was installed and how the system is configured across their property.
Covering Seasonal Maintenance
A final conversation about seasonal maintenance rounds out the walkthrough, covering topics like spring startup, fall winterization, and general signs that indicate a zone needs attention.
Ongoing education helps homeowners in Thompson's Station, TN get the most out of their system for years after the initial installation is complete.
Sharing Contact Information
Contact information for follow-up questions or future service also gets shared during this final stage, giving homeowners a clear point of contact if a question comes up weeks or months after installation rather than leaving them to search for answers on their own once the crew has left the property.
Why Timing and Sequence Matter for a Successful Installation
Each phase of irrigation installation depends on the one before it being done correctly. Skipping proper utility marking risks damage to existing infrastructure. Rushing zone mapping during design leads to inefficient watering patterns that become difficult to correct once pipes are buried underground.
Testing every zone before finalizing the installation catches problems while they are still easy to fix, rather than after a homeowner discovers a dead patch of grass weeks into the growing season.
Homeowners throughout Thompson's Station, TN and the surrounding Williamson County communities benefit from a structured, phase-by-phase approach that treats each step as essential rather than optional. A system installed this way performs more reliably and requires less troubleshooting once it becomes part of the property's regular maintenance routine.
Cutting corners at any single phase, whether skipping a pressure check during design or rushing zone testing before the final walkthrough, tends to show up later as uneven coverage, dry patches, or a controller schedule that never quite matches what the property actually needs.
Getting Your Irrigation System Started
Understanding the installation timeline gives homeowners a clearer picture of what to expect when scheduling irrigation installation in Thompson's Station, TN.
From the initial design conversation through the final walkthrough, each phase plays a specific role in delivering a system that performs consistently across every zone on the property.
For homeowners ready to start the process, Second Nature offers irrigation installation services throughout Thompson's Station, TN and the surrounding communities.
Contact Second Nature today to schedule a design consultation and begin building a system suited to the specific layout, soil, and planting needs of your property.
Related: Reliable Irrigation Solutions in Nolensville, TN & Brentwood, TN for Healthier Lawns
About the Author
For over 30 years, our locally operated business has provided comprehensive premium care to lawns in the greater Nashville area. Utilizing high-quality turf, top-of-the-line application equipment, and golf course–grade materials, our technicians bring playing and gathering spaces back to life.